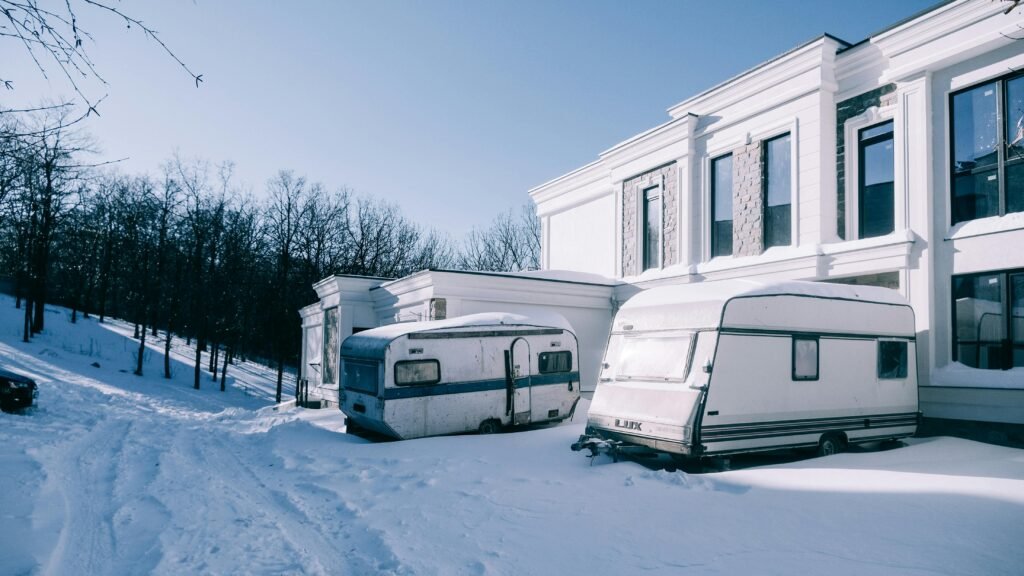
Winterizing your RV is an essential part of maintaining it during the off-season. Freezing temperatures can cause damage to your water lines, plumbing, and other critical systems, but with the right products and a little effort, you can protect your RV and be ready for your next adventure. In this DIY tutorial, we’ll show you how to winterize your RV step-by-step using some of the best-rated products from Amazon!

What You’ll Need:
To get started, you’ll need a few key products to properly winterize your RV. These are some of the best-rated Amazon products for winterizing:
- RV Antifreeze – Splash RV Antifreeze
This non-toxic, biodegradable antifreeze is specially designed for RV plumbing systems. It’s a must-have to prevent your pipes from freezing and bursting. - Water Heater Bypass Kit – RVGUARD RV Water Heater By-Pass Kit
A water heater bypass kit will help you save on antifreeze and ensure that the antifreeze doesn’t get into your water heater during the winterization process. - RV Blowout Plug – Camco 36153 Blowout Plug
This tool is used to blow out water from the plumbing lines to prevent any residual water from freezing inside the pipes. - Sewer Hose Cap – Camco 39463 Sewer Hose Cap
Use this to seal your sewer lines during the winter, keeping moisture and pests out. - Tire Covers – Classic Accessories Over Drive RV Wheel Covers
Protect your RV’s tires from the harsh winter elements with these durable, weather-resistant covers.

Step-by-Step Guide to Winterizing Your RV
Step 1: Empty the Water System
Start by emptying your water tanks, including the fresh water tank, black tank, and gray tank. Open the faucets, drains, and the toilet to let the water flow out completely. Be sure to dump your holding tanks at a dump station before you begin.
Step 2: Drain the Water Heater
Shut off the power and gas supply to your water heater, then drain it completely by removing the drain plug. This ensures that no water remains inside, which could freeze and cause cracks. If you have an RVGUARD RV Water Heater By-Pass Kit, install it now to prevent antifreeze from entering your water heater.
Step 3: Blow Out the Water Lines
Use the Camco RV Blowout Plug to blow compressed air through your RV’s water lines. This will push out any remaining water from your plumbing system. Be sure to open all the faucets, showerheads, and the toilet to allow the air to circulate through the system.
Step 4: Add Antifreeze
Once the water lines are clear of any remaining water, it’s time to add RV antifreeze. Splash RV Antifreeze is a great choice because it’s designed specifically for RV plumbing systems and is non-toxic. You can either pour antifreeze directly into your plumbing lines through the city water inlet or use a hand pump to pump it into the system. Be sure to run antifreeze through all the faucets, including the kitchen, bathroom, and outside showers.
Step 5: Protect Your RV’s Exterior
Now that your plumbing is winterized, it’s time to protect the exterior of your RV. Use Classic Accessories Over Drive RV Wheel Covers to protect your tires from UV damage, cracking, and freezing temperatures. This will keep your tires in good condition for your next trip.
Step 6: Seal All Vents and Openings
Check your RV for any open vents, windows, or other areas where cold air can seep in. Use weatherstripping or RV-specific sealing tape to seal any gaps. Don’t forget to check your sewer hose, and use the Camco 39463 Sewer Hose Cap to close off the sewer outlet.
Step 7: Store Your RV Safely
If you’re storing your RV outdoors, make sure it’s covered with an RV cover designed for winter use. If possible, store it in a location protected from the elements, such as a garage or covered shelter. If you don’t have access to such a place, an all-weather RV cover will do the job.
Additional Tips for Winterizing Your RV:
- Check the battery: Before you store your RV, disconnect the battery to prevent it from draining. If your battery is removable, store it in a warm, dry place.
- Empty the fridge: Clean your fridge and freezer, and leave the doors open to prevent mold or odors from building up.
- Cover vents: Use vent covers to keep snow, leaves, and pests out of your RV during storage.
- Inspect your seals: Ensure that all door and window seals are in good condition to prevent drafts and moisture from entering.
Conclusion
Winterizing your RV doesn’t have to be a complicated task. By following this simple guide and using top-rated Amazon products like Splash RV Antifreeze and RVGUARD RV Water Heater By-Pass Kit, you can protect your RV from the cold and ensure it’s ready to hit the road when warmer weather returns.
Taking the time to winterize your RV will save you from costly repairs and ensure a hassle-free experience when you’re ready to get back on the road. With the right preparation, your RV will stay in top condition all winter long!

Important Disclaimer: Always follow the manufacturer’s instructions when using any products for RV winterization. This tutorial is for informational purposes only, and I am not a licensed professional. If you’re unsure about any step or product, consult with a professional to ensure proper care and maintenance of your RV.
Affiliate Disclaimer:
This post contains affiliate links. If you purchase through these links, I may earn a small commission at no extra cost to you. I only recommend products I trust and believe will benefit you. Thank you for supporting my content!
