
RV life offers the freedom to explore new places and create unforgettable memories, but a few key upgrades can take your RV experience to the next level. Whether you’re upgrading for comfort, safety, or efficiency, these 10 DIY RV upgrades can be easily installed with some basic tools and a bit of know-how. Plus, we’ve rounded up Amazon’s best-rated products for each upgrade to help you get started!
1. Solar Power System for Off-Grid Living
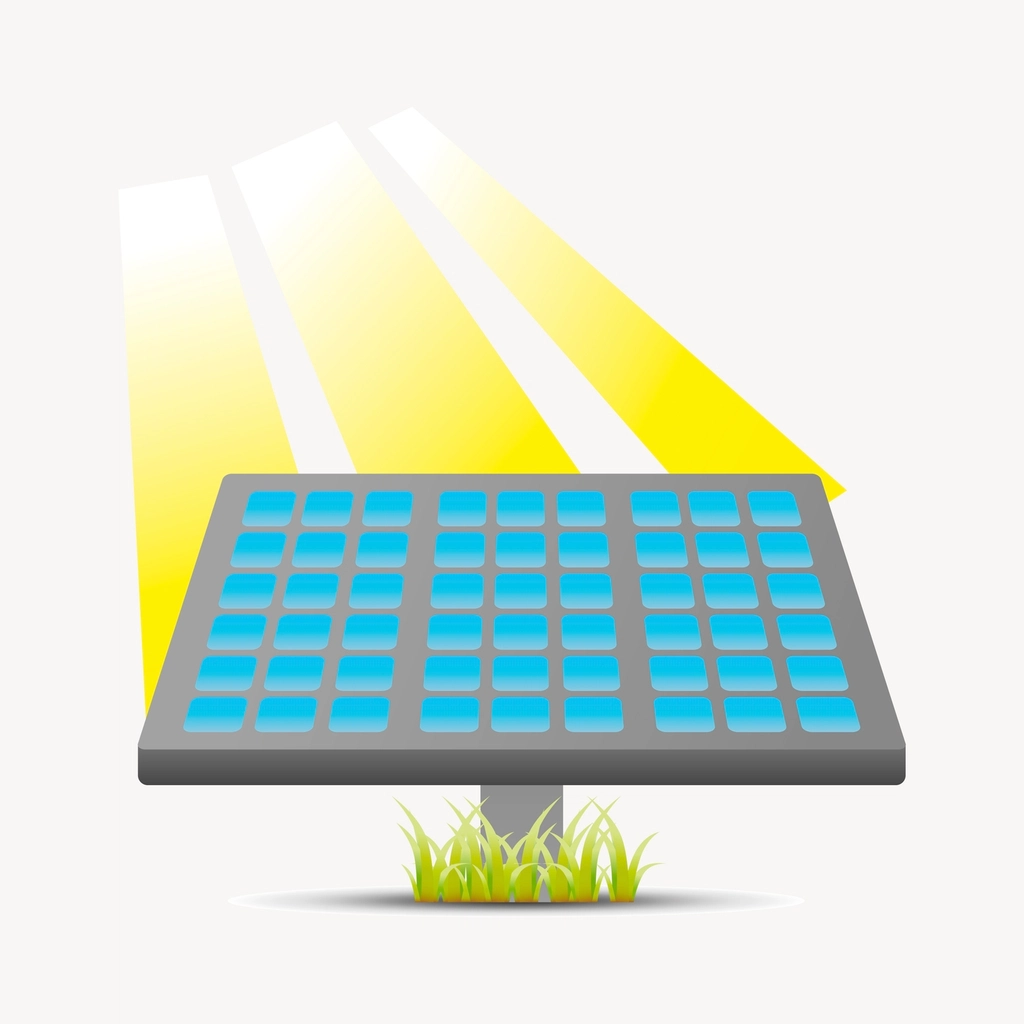
Installing a solar power system is a must for those who want to camp off the grid. Solar panels will provide a steady source of energy for your RV appliances, lights, and electronics without relying on generators.
How to Install:
- Measure your roof to determine the panel size you need.
- Mount the solar panels on your roof using a mounting kit.
- Connect the panels to a charge controller and then to your battery system.
Recommended Product:
- Renogy 100 Watt 12 Volt Monocrystalline Solar Panel Kit
This complete kit comes with solar panels, a charge controller, and all the cables you need to start generating power. Perfect for beginners, it’s compact and efficient for RVs.
Why It’s Worth It: A solar system lets you stay off the grid longer, save on energy, and reduce your carbon footprint.
2. Upgraded Mattress for Better Sleep
RV mattresses can often be uncomfortable and thin. Upgrading to a high-quality mattress will help you sleep soundly after a long day on the road.
How to Install:
- Measure your RV bed frame to ensure a good fit.
- Remove the old mattress and dispose of it.
- Place your new mattress on the frame and secure it with any necessary straps.
Recommended Product:
- Zinus 12-Inch Green Tea Memory Foam Mattress
This highly rated mattress offers plush comfort and support for a great night’s sleep. The infused green tea helps keep it fresh, and the memory foam contours to your body for ultimate relaxation.
Why It’s Worth It: A comfortable mattress is essential for getting quality sleep while traveling, and this mattress provides excellent value for comfort and price.

3. Backup Camera for Safer Driving
When driving an RV, visibility is crucial, especially when reversing into tight spots. Installing a backup camera system will make parking and maneuvering much easier and safer.
How to Install:
- Mount the camera at the rear of your RV.
- Connect the camera to the power supply using the included wiring kit.
- Install the monitor in your cab or near the rearview mirror.
- Test the camera to ensure the view is clear.
Recommended Product:
- Furrion Vision S Wireless RV Backup System
This wireless system includes a high-definition camera with a wide-angle view, designed specifically for RVs. The system is easy to install and provides a clear, reliable image.
Why It’s Worth It: A backup camera enhances safety by making reversing and parking less stressful and more accurate, especially in crowded or tight areas
4. Portable Air Conditioner for Cool Comfort
Staying cool during hot weather is essential, and a portable air conditioner offers a convenient solution for RVs without built-in AC systems.
How to Install:
- Set up the portable AC unit near a window.
- Attach the exhaust hose to vent hot air outside.
- Plug the unit into your RV’s power outlet and enjoy cool air.
Recommended Product:
- BLACK+DECKER 8000 BTU Portable Air Conditioner
This compact yet powerful AC unit is perfect for small to medium-sized RVs. It’s easy to install and can cool a space up to 350 square feet, making it ideal for summer travels.
Why It’s Worth It: A portable air conditioner will keep your RV cool and comfortable, allowing you to enjoy your camping trip no matter how hot it gets outside.

5. Tire Upgrade for Improved Safety
RV tires are critical to safety and performance on the road. Upgrading to higher-quality tires ensures you have a smooth ride and reduces the risk of blowouts or accidents.
How to Install:
- Use a jack to lift your RV and secure it with jack stands.
- Remove the old tires by loosening the lug nuts.
- Install the new tires and tighten the lug nuts in a star pattern.
- Check the tire pressure regularly.
Recommended Product:
- Carlisle Radial Trail HD Trailer Tire
These highly rated tires are designed to offer durability and smooth performance on all types of terrain, making them a perfect choice for RVs. The tread pattern provides excellent traction, and they’re built to withstand heavy loads.
Why It’s Worth It: Upgrading your tires ensures better handling, improved safety, and fewer road-related issues, giving you peace of mind on your travels.

6. Upgraded Lighting for Better Visibility
Upgrading to LED lights reduces energy consumption and improves your RV’s lighting, inside and out. LED lights are brighter, last longer, and are more energy-efficient than traditional bulbs.
How to Install:
- Turn off the power to your RV’s electrical system.
- Remove the old light fixtures.
- Install the new LED fixtures and secure them in place.
- Test the lights to ensure they work.
Recommended Product:
- Aaleds RV LED Interior Lights
These LED lights are energy-efficient, offering bright illumination for your RV’s interior. They are easy to install and will last for years, saving you money on replacements.
Why It’s Worth It: LED lighting provides better visibility while consuming less power, which is essential when boondocking or relying on solar power.

7. Wi-Fi Booster for Better Internet Connection
Stay connected on the road by installing a Wi-Fi booster that strengthens signals when you’re in areas with weak or spotty Wi-Fi.
How to Install:
- Mount the Wi-Fi booster on your RV’s roof or an external surface for the best reception.
- Connect the booster to your RV’s internet system and check the signal strength.
Recommended Product:
- WeBoost Drive X RV Cell Signal Booster
This device significantly boosts your cell signal, ensuring faster internet speeds even in remote areas. It’s one of the most reliable options for RVers looking to stay connected while traveling.
Why It’s Worth It: A Wi-Fi booster ensures you get reliable internet on the road, which is great for work, streaming, or staying in touch with family and friends.

8. Slide-Out Awning for Protection
Protect your RV’s slide-out from dirt, debris, and weather damage by installing a slide-out awning. It will help maintain the integrity of your RV’s exterior and reduce the need for frequent cleaning.
How to Install:
- Measure your slide-out to ensure the awning fits properly.
- Mount the awning brackets above the slide-out.
- Attach the awning fabric and pull it out for full coverage.
Recommended Product:
- Awnlux Slideout Awnings
This durable awning is made to withstand various weather conditions and protect your slide-out from the elements. It’s designed for easy installation and long-term use.
Why It’s Worth It: A slide-out awning extends the life of your RV, protecting your slide-out from dirt, rain, and UV rays while keeping it looking new.

9. Battery Upgrade for Better Power
Upgrading your RV’s batteries to a higher capacity or lithium battery can give you more reliable power for your electronics, appliances, and lighting.
How to Install:
- Disconnect and remove the old battery.
- Install the new battery, ensuring the connections are secure and the polarity is correct.
- Reconnect the battery to your RV’s electrical system.
Recommended Product:
- Renogy 12V 100Ah Lithium Iron Phosphate Battery
This high-capacity battery provides longer-lasting power and is lighter and more efficient than traditional lead-acid batteries.
Why It’s Worth It: A battery upgrade allows you to power your RV longer, reducing the need to rely on shore power or generators.

10. Custom Storage Solutions for Better Organization
Maximize the limited space inside your RV by installing custom storage solutions. Whether it’s under-bed drawers, closet organizers, or overhead bins, organizing your RV makes life on the road more efficient.
How to Install:
- Measure spaces where you need extra storage.
- Build or purchase storage solutions that fit.
- Install or place them in your RV to maximize space and organization.
Recommended Product:
- 3-Tier Adjustable Drawer Organizer
This easy-to-install organizer is perfect for making the most out of small spaces. It’s ideal for organizing your RV kitchen, bathroom, or storage areas.
Why It’s Worth It: Better organization helps keep your RV tidy, saves time, and prevents items from shifting during travel.

Conclusion:
These 10 DIY RV upgrades, paired with Amazon’s top-rated products, will make your RV experience more comfortable, efficient, and enjoyable. Whether you’re powering your RV with solar energy, staying cool with portable air conditioning, or improving safety with a backup camera, these upgrades are easy to install and will enhance your travels for years to come.
As an Amazon Associate, I earn from qualifying purchases.
